My mission was to get down to just the frame!
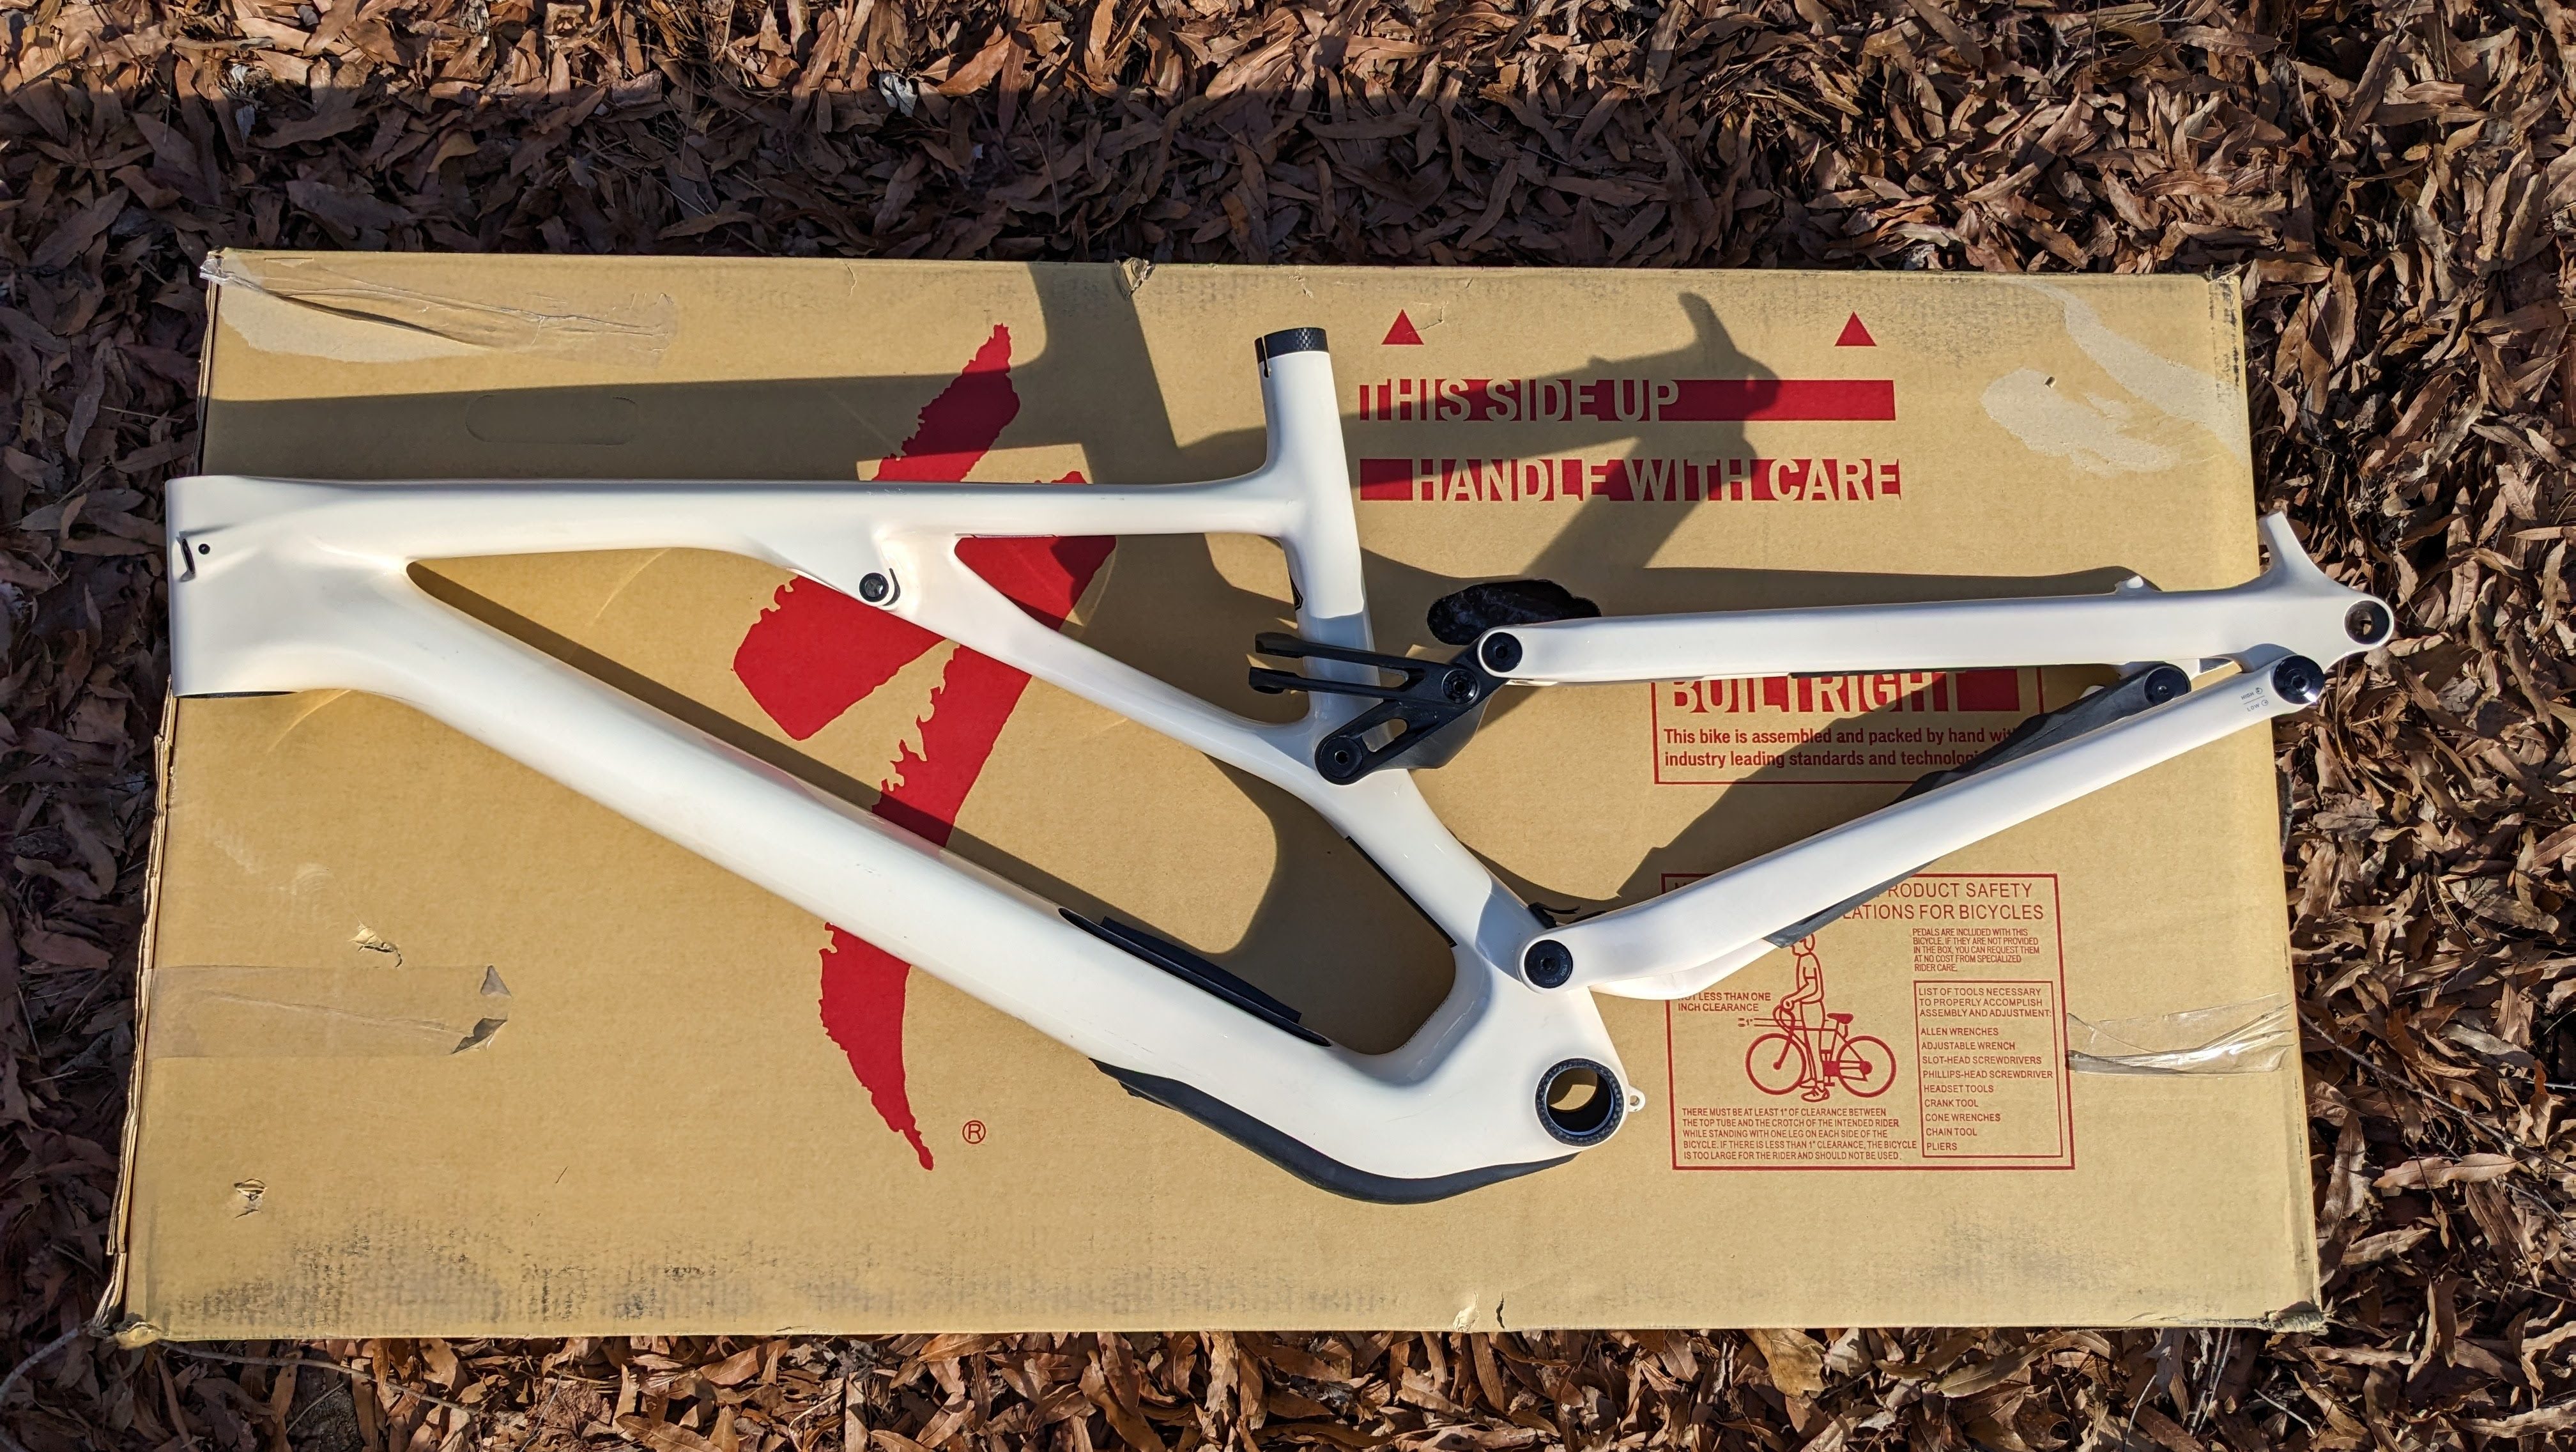
And I did it. No bolts. No cables. No nothing. Ok, I left 5 pivot bolts that were fine in the rear triangle area.
I listed the amount of time it took me to do certain steps in the process. Some steps took super long because I wasn’t sure what I was doing or because of things like really over-torqued bolts that were nearly impossible to remove (e.g. crank arms). Other steps were quick because I was familiar with them (e.g. taking off the front wheel).
Here’s the order in which I took apart my bike:
| Step | Notes | Time (min) |
| Quick assessment | Just try to envision first what is easy and what might be more difficult for you in this tear down (and rebuild) process. | 1 |
| Take photos and video | It turns out I later needed photos of the cables so I’m glad I did a walk-around of the bike. It was easy for me to review the footage and see the alignment of the dropper and brake cables. | 1 |
| Remove wheels and rotors | Easy. It’s just removing bolts. | 15 |
| Take off rear cassette | Easy. You don’t have to have one, but a chain whip will make short work of this. | 5 |
| Replacing tires | Moderate. It’s easy once you’ve done it a few times, but until then it can be a bit time consuming. | 30 |
| Remove chain | Easy. If your chain has a magic link like mine this will be trivial. | 5 |
| Remove derailleur and hanger | Easy. I’m cheating because I have an electronic derailleur. No cable to mess with you. | 5 |
| Remove pedals | Easy. Remember that you tighten both pedals by wrenching in an overhand motion toward the front of the bike. | 10 |
| Remove crank arms | Difficult. I did not realize there was a 2mm allen key bolt securing the crank arm on the left non-drive side until I happened upon this YouTube video. Getting the crank arms off took me forever because they were so over-torqued (and I broke off a bolt). | 60 |
| Remove bottom bracket | Easy. Left non-drive side – Counter-clockwise to loosen Right drive side – Clockwise to loosen – Has the longer tube of the BB component and a spacer for the drive side crank arm may stick on the BB shell so be careful you don’t drop it | 10 |
| Remove shock | Easy. Just 2 bolts and done. | 10 |
| Remove grips | Easy. Just 2 bolts and done. | 5 |
| Remove brake caliper off fork | Easy. Just 2 bolts and done. | 5 |
| Remove handlebar levers | Easy. Just 1 or 2 bolts and done. | 5 |
| Remove fork and handlebar | Moderate. You really want to make sure you are careful not dropping the fork on the ground as you undo the stem from the steer tube. I also ran the spacers, washers, bearings, etc all through a rag so that I could remember the exact order in which to restore the parts on the bike. I also left the stem and handlebar attached because there was no reason to disassemble them at this time. | 30 |
| Remove brake pads | Easy. Just remove a pin and done. Wear gloves because they are dirty, but also you do not want to contaminate your brake pads if you are not replacing them. | 10 |
| Remove brake caliper off frame | Easy. Just 2 bolts and done. | 5 |
| Separate brake caliper from cable housing | Easy. I found it helpful to watch this YouTube video to get a lay of the land first. | 5 |
| Separate brake lever from cable housing | Easy. | 5 |
| Remove brake cable housing from frame | Easy. Was satisfying to see how easy it was to pull the cable from the frame. Pull it from the rear of the bike because you are not removing the banjo bolt. | 5 |
| Remove dropper cable from lever | Easy. | 5 |
| Remove dropper post from frame | Easy. | 5 |
| Remove dropper cable from dropper post | Easy. | 5 |
